Make your first bulk edit
This walkthrough takes you through one complete edit, from picking items to checking the result. The example adds the tag summer to every product from one vendor.
Step 1: Open Bulk Edit
- Open Edify from Apps in your Shopify admin.
- On the Dashboard, click Start bulk edit. You can also open Bulk Edit from the Edify menu.
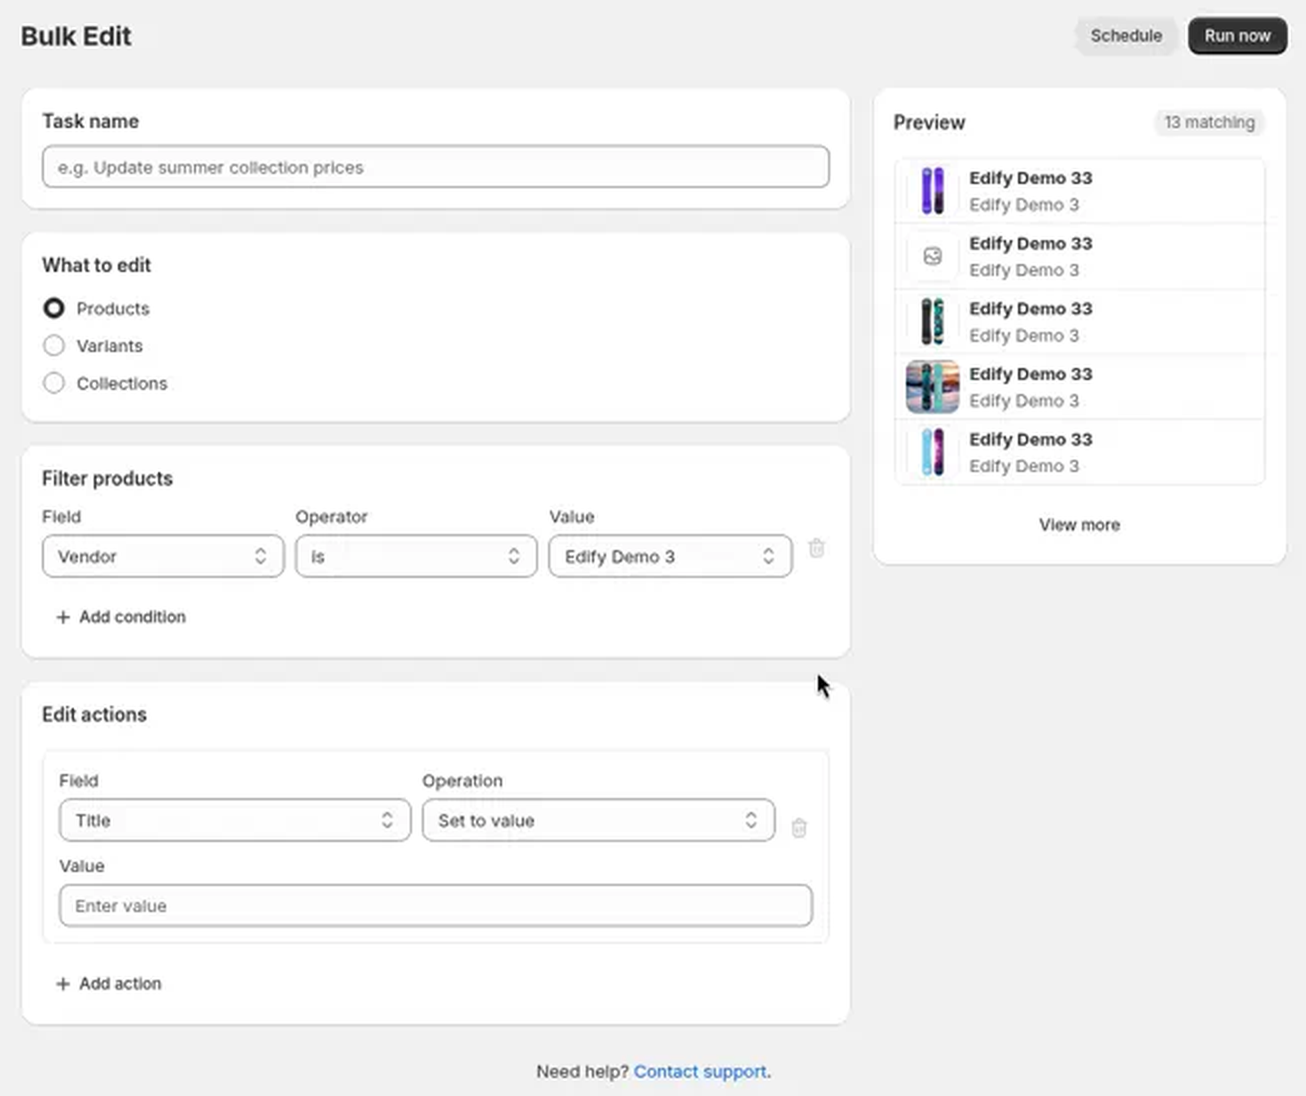
Your draft is saved while you work
Edify keeps your unsaved Bulk Edit form (task name, what to edit, filters, and actions) in this browser tab. If you switch tabs, reload the app frame, or open History and come back to Bulk Edit, you'll see We restored your unsaved bulk edit. with a Start over button.
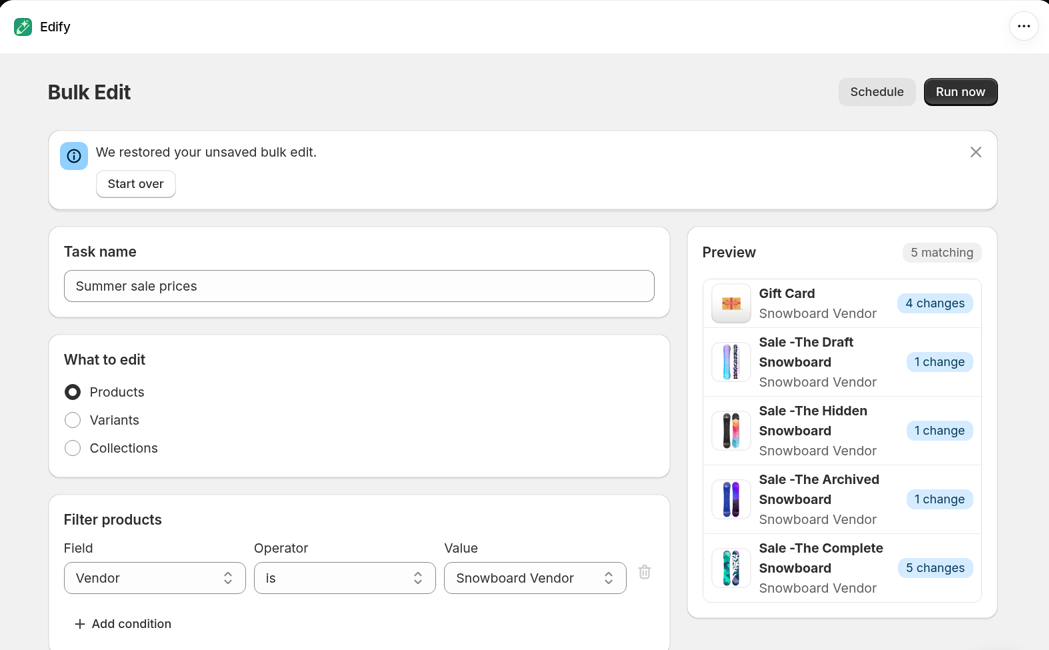
- Click Start over to clear the form and the draft.
- Click the X on the banner to hide it and keep working on the restored form.
- A successful Run now or Schedule also clears the draft.
- Opening a preset link always starts a fresh form, even if a draft exists.
- Closing the browser tab clears the draft. It isn't kept for later days.
Step 2: Choose what to edit
Under What to edit, pick one option:
- Products for title, description, vendor, product type, tags, status, URL handle, price, and compare-at price, and to rename option names and values. A price edit here applies to every variant of each matched product.
- Variants to target specific variants, for example by SKU, barcode, or price, and edit their Price, Compare at price, SKU, Barcode, and Charge tax.
- Collections for collection title, description, and URL handle.
For the example, keep Products.
Step 3: Filter the items
- In Filter products, set Field to Vendor.
- Set Operator to is.
- Pick your vendor in Value.
- Optional: click Add condition to add another condition. An AND / OR toggle appears. Keep AND (the default) to match items that meet all of your conditions, or pick OR to match items that meet any of them.
The Preview panel on the right updates and shows how many items match. Learn more in Choose which products to edit with filters.
Step 4: Add your edit
- In Edit actions, set Field to Tags.
- Set Operation to Add tags.
- Type
summerin Value. - Optional: click Add action to make more changes in the same task. See Run several edits at once.
Step 5: Name, preview, and run
- Type a Task name at the top, for example "Add summer tag". A name is required, and so is a value for each action. If one is missing, Edify marks it in red and doesn't start the task.
- Check the Preview panel. It lists the matching items, and a badge such as 1 change marks items the edit will change. Run now and Schedule stay disabled while the preview is still loading. See Preview changes before you apply them.
- Click Run now. To run it later, click Schedule instead. See Schedule an edit and revert it automatically.
Step 6: Check the result
After you click Run now, Edify opens Task History. Your task starts as Pending, then moves to Processing and Completed. Progress shows how many items were processed, for example 13/13.
Click the task name to open its details. The Changes section lists each edited item with its old value → new value.
Not happy with the result? Click Revert on the task to undo it. See View history and undo an edit.
Still stuck? Message us from the chat in the app and we'll help.